
How to Install Metal Roofing Panels: Complete Step-by-Step Guide
Installing metal roofing panels is a key part of exterior home improvement. Metal panels protect your home from water penetration, wind, and weather damage while enhancing home appearance enhancement. Correct installation supports long-term structural integrity, reduces maintenance needs, and improves energy efficiency considerations. Following proper steps ensures panels are aligned, fastened securely, and able to handle seasonal expansion and contraction. This helps prevent warping, paint fading risks, and heat absorption concerns over time.
Essential Tools and Materials for Metal Roof Installation
Before you start, gather all your tools and materials. You will need a measuring tape, chalk line, drill, screw gun, circular saw, jig saw, metal-cutting saw, metal snips, and claw hammer. You will also need roofing adhesives, patches, sealants, and butyl tape to make the roof waterproof. For safety, use gloves, steel-toed boots, safety goggles, ladder, scaffolding, safety harness, and fall protection gear. You will need metal panels made of steel, aluminum, copper, tin, or zinc, underlayment (synthetic or felt), drip edge, flashing, ridge caps, closure strips, furring strips, and screws with rubber washers. Being ready with everything will help your work go smoothly.
Table of Contents
- How to Install Metal Roofing Panels: Complete Step-by-Step Guide
- Essential Tools and Materials for Metal Roof Installation
- Preparing Your Roof: Surface, Measurements, and Layout Planning
- Choosing the Right Metal Panels and Fasteners for Your Roof
- Step-by-Step Guide to Installing Metal Roofing Panels
- Installing Flashing, Ridge Caps, and Ventilation for a Durable Roof
- Common Mistakes to Avoid During Metal Roof Installation
- DIY vs. Professional Installation: What You Need to Know Tips
Preparing Your Roof: Surface, Measurements, and Layout Planning
Getting the roof ready is very important. Start by removing old roofing, checking the decking for damage, fixing any problems, and cleaning the roof deck. Measure the roof size and slope with a measuring tape. Snap chalk lines to mark where panels will go. Decide your starting point, usually at the bottom edge of the roof. Plan how you will place the standing seam panels, PBR/R panels, corrugated panels, or exposed fastener panels. A clean, level roof makes panel placement easier, keeps the roof waterproof, and helps it last longer.
Choosing the Right Metal Panels and Fasteners for Your Roof
Choosing the right panels is important for how long the roof lasts, how it looks, and how well it works. Steel and aluminum are strong and resist rust, while copper, tin, and zinc look nice and last a long time. Standing seam panels are sleek and modern, and exposed fastener panels, PBR/R panels, corrugated panels, or Paradise panels are good for traditional or industrial styles. Use screws with rubber washers and space them evenly without over-tightening. Furring strips or battens can help with ventilation. Sealant or butyl tape keeps overlaps waterproof. The right materials make the roof strong, low-maintenance, and long-lasting.
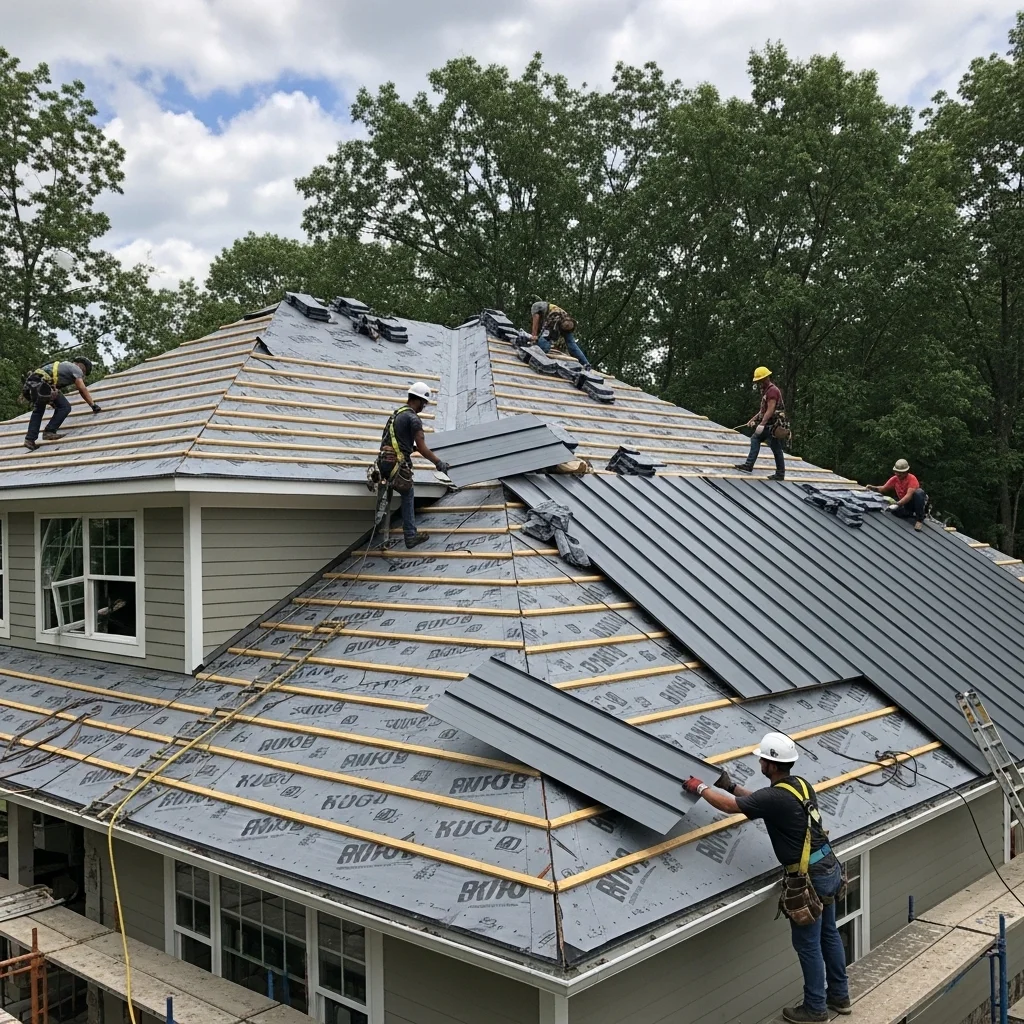
Step-by-Step Guide to Installing Metal Roofing Panels
Start at the bottom edge of the roof and work upward. Make sure panels hang over the edge as the manufacturer recommends. Cut panels to size with a metal-cutting saw or snips. Line panels up along chalk lines. Fasten panels with screws that have rubber washers. Do not over-tighten screws. Overlap panels as the manufacturer says and add sealant along overlaps to keep water out. For standing seam panels, make sure seams engage properly. For exposed fastener panels, keep screw spacing even. Correct installation makes the roof last longer, saves energy, and looks good.
Installing Flashing, Ridge Caps, and Ventilation for a Durable Roof
After the panels are in place, put a drip edge at the bottom of the roof and add flashing around chimneys, vents, skylights, and other openings. Install the ridge cap with screws and seal it to prevent leaks. Use closure strips and butyl tape for extra protection. Furring strips or battens can improve ventilation and stop condensation under the roof. Correct installation of flashing, ridge caps, and ventilation keeps the roof waterproof, strong, and energy-efficient.
Common Mistakes to Avoid During Metal Roof Installation
Avoid mistakes that can make the roof fail. Do not misalign screws, drive screws too tight or too loose, skip the underlayment, leave too small overlaps, or cut panels wrong. Make sure the roof has at least a 3:12 slope. Seal overlaps, vents, and ridge caps well. Check your tools and work area before starting. Avoid unsafe weather, and always use ladders, scaffolding, and safety gear correctly. Avoiding these mistakes keeps the roof safe, strong, and long-lasting.
DIY vs. Professional Installation: What You Need to Know
Installing metal roofing panels yourself can save money, but hiring a professional is often safer. Professionals know building codes and how to install panels properly, including steel, aluminum, copper, tin, or zinc panels. They know how to install flashing, ridge caps, and sealants correctly. Doing it yourself can work if you know the steps, use the right tools, and follow safety rules. Professionals make sure your roof lasts longer, is energy-efficient, and looks great, while reducing the chance of mistakes and repairs later.